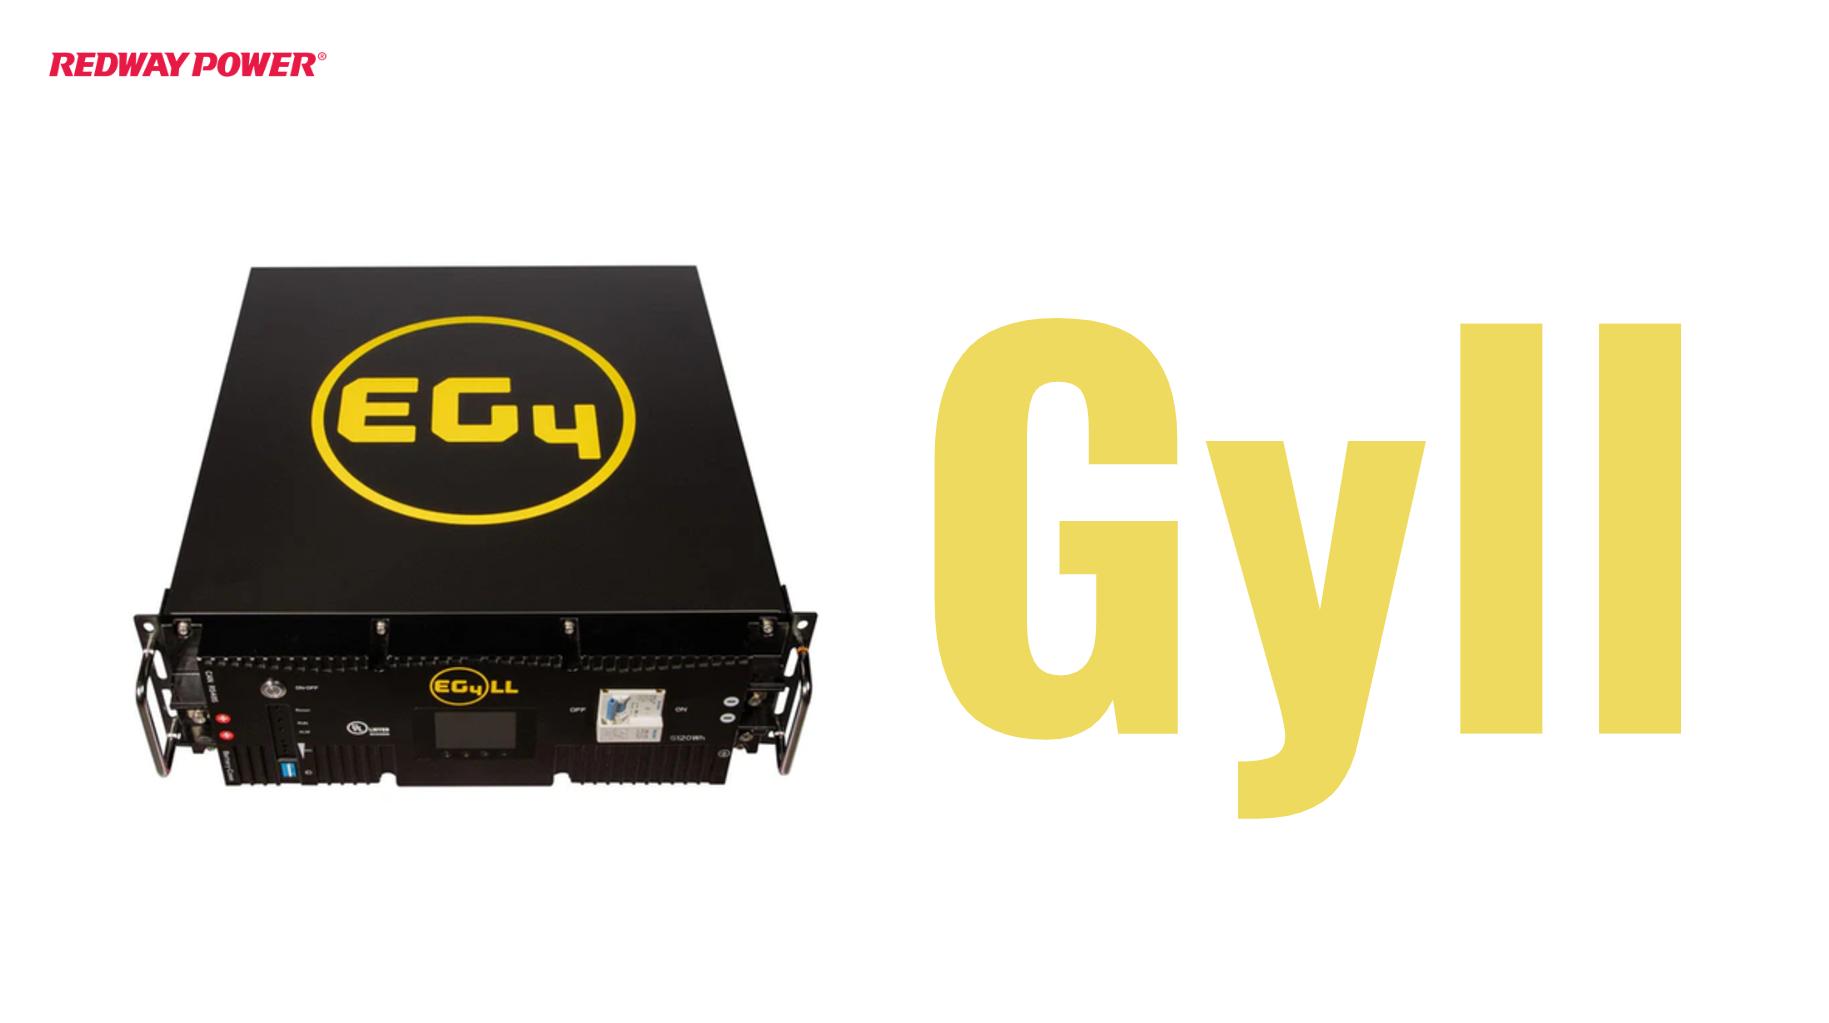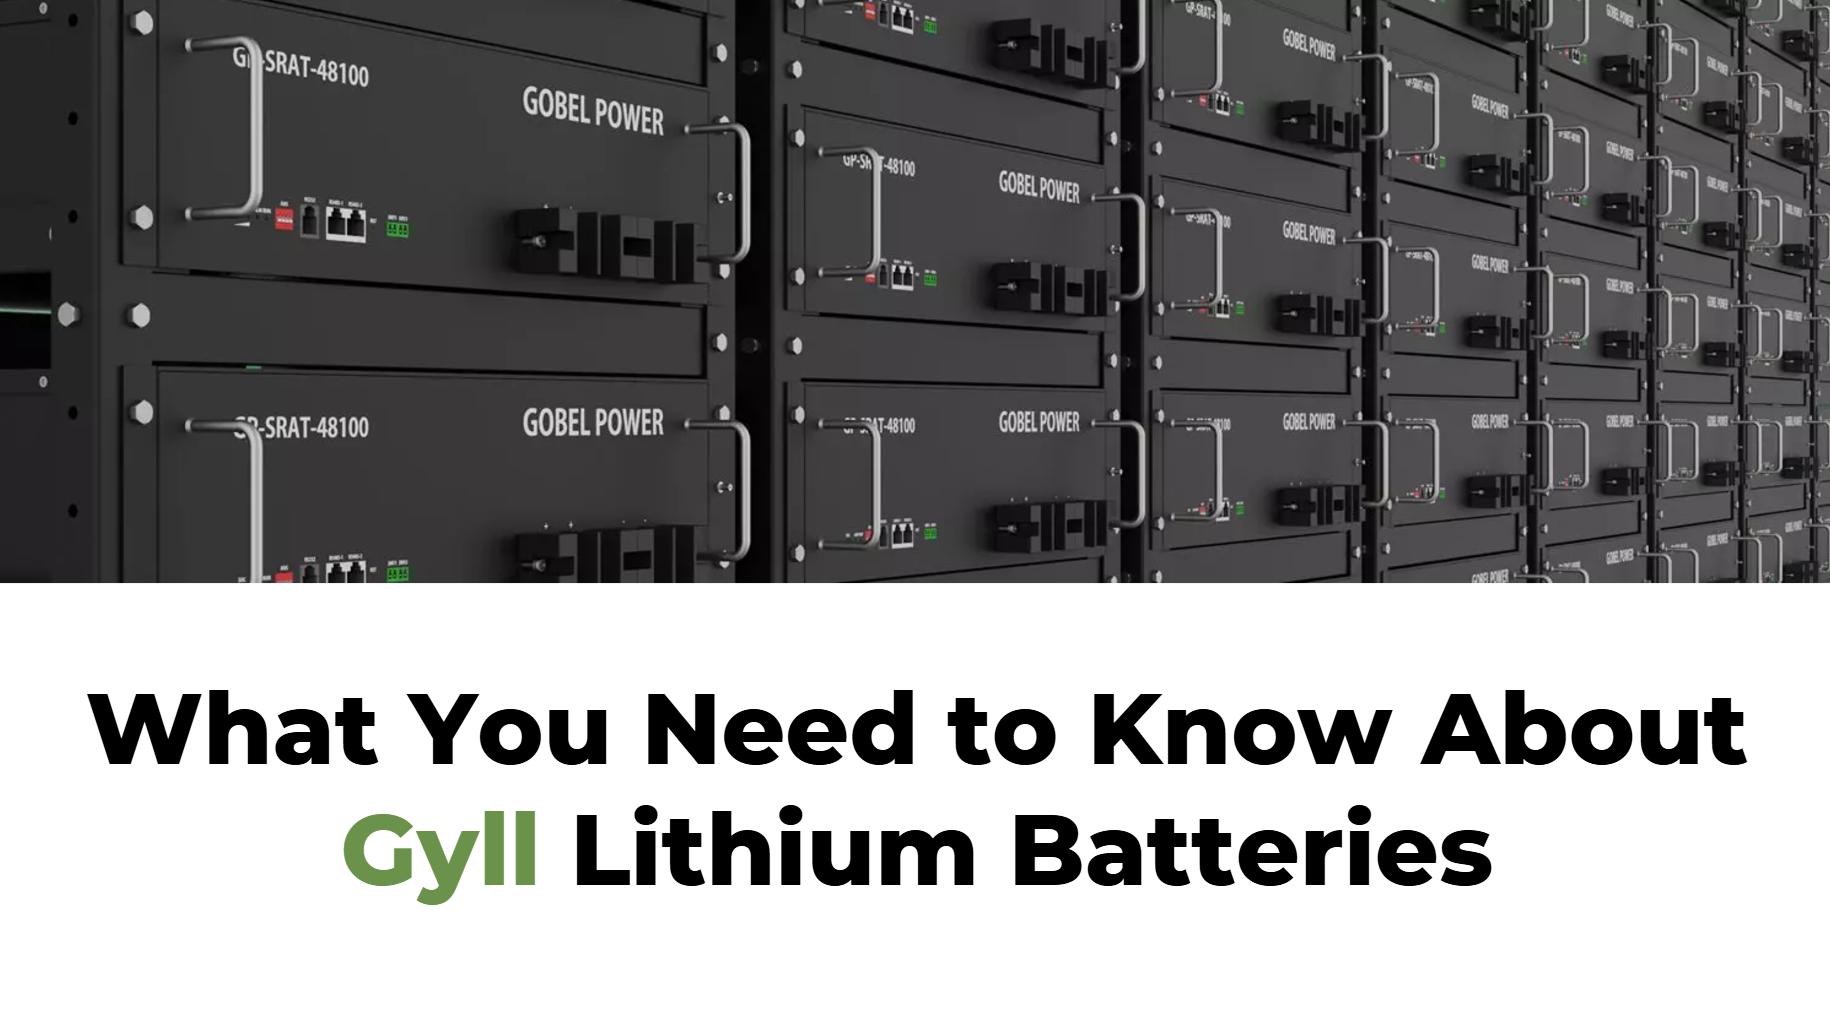
What You Need to Know About Gyll Lithium Batteries: Specifications, Benefits, and Applications
Gyll lithium batteries, particularly known for their LiFePO4 (lithium iron phosphate) technology, offer a reliable energy storage solution with various applications in residential, commercial, and industrial settings. These batteries are recognized for their safety, longevity, and efficiency, making them an excellent choice for energy storage systems.
Key Specifications and Features
Voltage and Capacity Ratings
Gyll lithium batteries typically come with a nominal voltage of 51.2V (48V systems) and various capacity ratings depending on the model:
| Model | Voltage | Capacity | Energy Storage |
|---|---|---|---|
| EG4-LL | 51.2V | 100Ah | 5.12 kWh |
| EG4-GyLL | 51.2V | 400Ah | 20 kWh |
These specifications indicate that Gyll batteries can store significant amounts of energy suitable for various applications.
Cycle Life and Efficiency
One of the standout features of Gyll lithium batteries is their impressive cycle life:
| Battery Type | Cycle Life (at 80% DoD) | Efficiency |
|---|---|---|
| Gyll Lithium (LiFePO4) | Up to 7000 cycles | 99% |
This high cycle life means that users can expect long-term performance without significant degradation over time.
Applications of Gyll Lithium Batteries
Residential Energy Storage
Gyll lithium batteries are increasingly used in home energy storage systems, allowing homeowners to store solar energy for use during peak hours or outages.
Commercial Uses
In commercial settings, these batteries are used for backup power solutions, ensuring that critical operations remain uninterrupted during power outages.
Electric Vehicles and More
Gyll lithium batteries are also suitable for electric vehicles (EVs), providing reliable power sources that enhance vehicle performance and range.
Advantages of Using Gyll Lithium Batteries
Safety Features
LiFePO4 technology is known for its thermal stability, significantly reducing the risk of overheating or fire compared to other lithium-ion chemistries.
Environmental Impact
Gyll lithium batteries are more environmentally friendly than traditional lead-acid batteries, as they do not contain toxic materials like lead or cadmium.
Cost Efficiency Over Time
While the initial investment may be higher than traditional battery technologies, the longevity and efficiency of Gyll lithium batteries make them more cost-effective in the long run.
Installation and Maintenance Tips
Proper installation and maintenance are crucial for maximizing the lifespan of Gyll lithium batteries:
- Installation: Follow manufacturer guidelines for installation to ensure safety and optimal performance.
- Regular Monitoring: Use monitoring systems to keep track of battery health, charge levels, and overall performance.
- Temperature Control: Ensure that the installation area is well-ventilated and within the recommended temperature range to prevent overheating.
Comparison with Other Battery Technologies
When comparing Gyll lithium batteries to other types such as lead-acid or nickel-cadmium:
| Feature | Gyll Lithium (LiFePO4) | Lead-Acid | Nickel-Cadmium |
|---|---|---|---|
| Cycle Life | Up to 7000 cycles | 500 – 1000 cycles | 1500 cycles |
| Efficiency | Up to 99% | Around 80% | Around 70% |
| Weight | Lightweight | Heavier | Moderate |
Gyll lithium batteries offer superior performance in terms of cycle life and efficiency.
Latest News in Battery Technology
Recent advancements in battery technology include improvements in lithium-ion chemistries that enhance energy density, reduce charging times, and increase safety features. Companies like Gyll are at the forefront of these innovations, focusing on sustainable practices while delivering high-performance energy solutions for various applications.
Redway Expert Comment
“Gyll lithium batteries represent a significant advancement in energy storage technology. Their combination of safety, efficiency, and longevity makes them an ideal choice for both residential and commercial applications.” – Renewable Energy Expert
Frequently Asked Questions (FAQs)
What is a Gyll lithium battery?
A Gyll lithium battery is a type of LiFePO4 battery known for its safety, long cycle life, and efficiency, commonly used in energy storage systems.
How long do Gyll lithium batteries last?
Gyll lithium batteries can last up to 7000 cycles at an 80% depth of discharge (DoD), making them a durable choice for long-term use.
Are Gyll lithium batteries safe?
Yes, they are considered safe due to their thermal stability and built-in safety features that minimize risks associated with overheating or fire.
Can I use a Gyll lithium battery for solar energy storage?
Absolutely! Gyll lithium batteries are ideal for solar energy storage systems, allowing you to store excess solar power for later use.
Know more: