Minnesota Golf Cart and LSV Laws: A Comprehensive Guide to Legal Operation
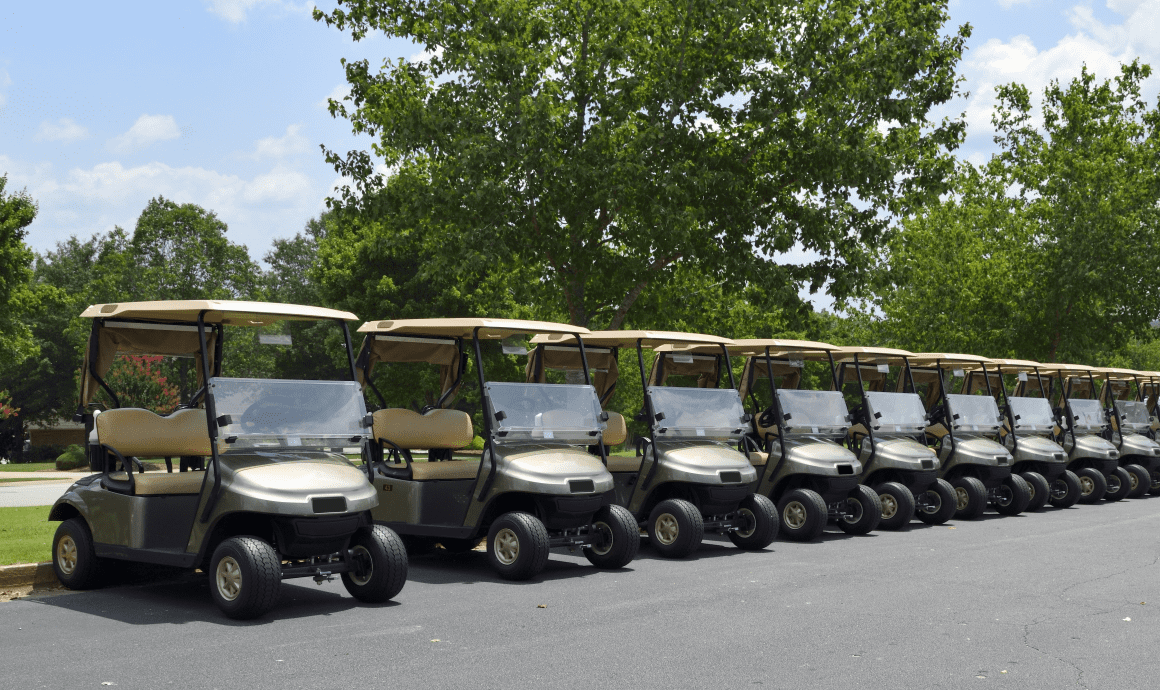
Minnesota allows golf carts and Low-Speed Vehicles (LSVs) on public roads under specific conditions. Golf carts are generally permitted on streets with speed limits of 30 mph or less, while LSVs, capable of 20–25 mph, must meet safety standards, be registered, and insured. Understanding these laws ensures safe, legal use and maximizes the convenience of low-speed transportation.
How Are Golf Carts and LSVs Regulated in Minnesota?
Golf carts and LSVs are governed by distinct regulations in Minnesota. Golf carts are mostly regulated at the local level through permits, while LSVs are treated as state-registered vehicles and must comply with federal safety standards. These rules are designed to ensure safety while providing eco-friendly, efficient transportation alternatives for short-distance travel.
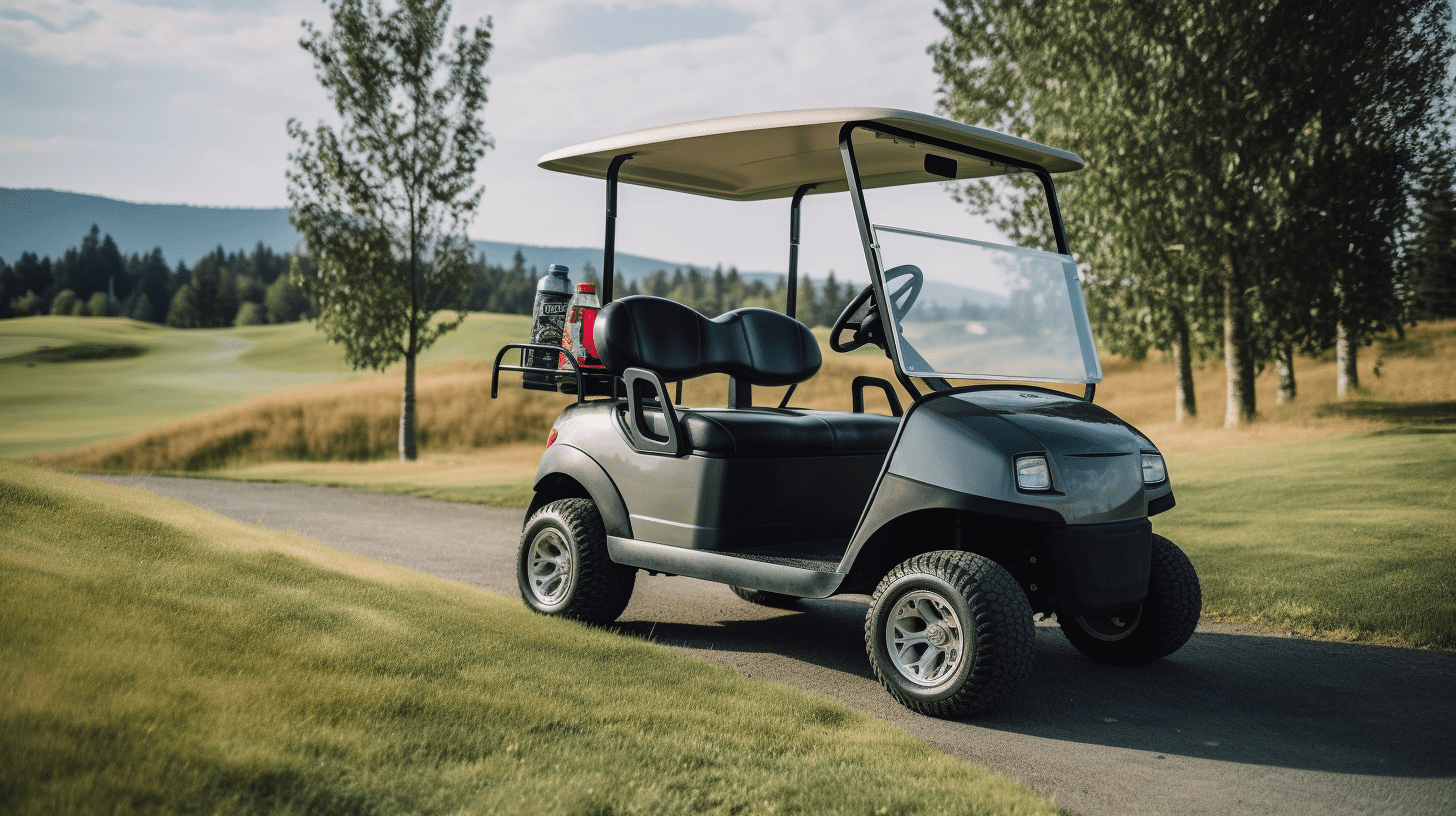
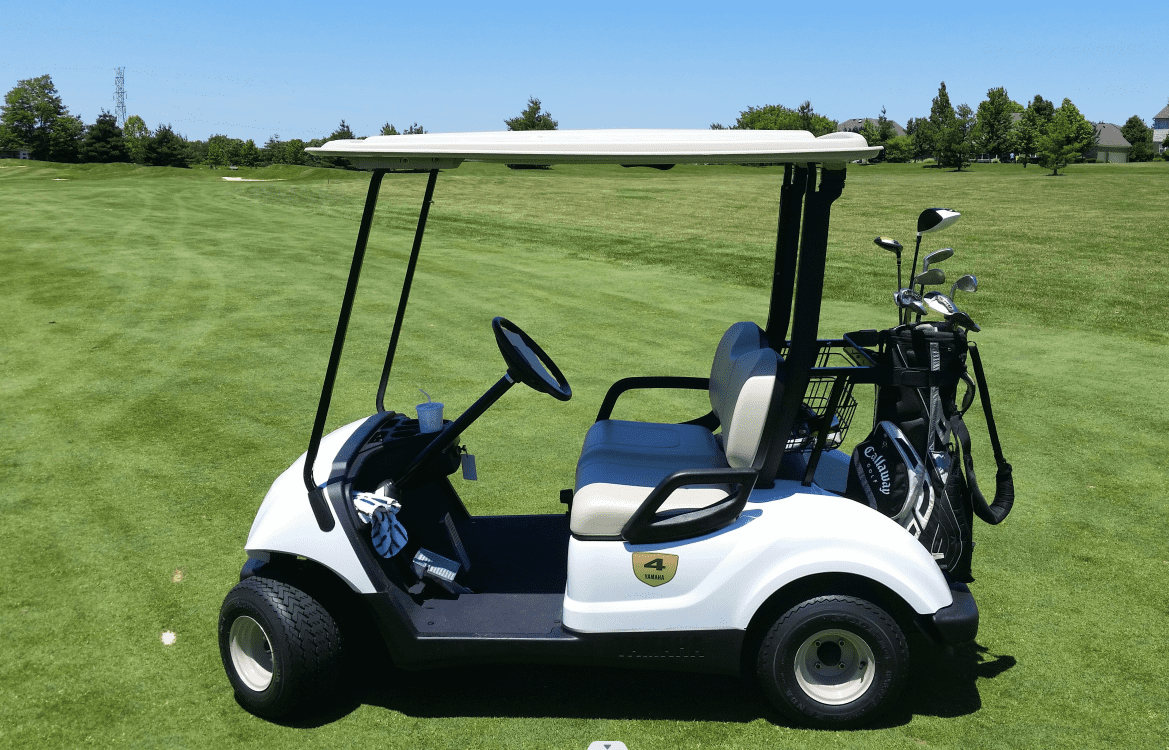
What Are the Key Requirements for Golf Carts in Minnesota?
Golf carts can only operate on streets with speed limits of 30 mph or lower unless local ordinances allow otherwise. Operators must hold a valid Minnesota driver’s license. While safety features are not mandated statewide, adding headlights, brake lights, turn signals, and reflectors is recommended. Some municipalities may impose additional regulations, so checking local rules before driving is essential.
What Are the Key Requirements for Low-Speed Vehicles (LSVs) in Minnesota?
LSVs must travel on roads with speed limits of 35 mph or less. They require registration with the Minnesota Department of Public Safety, including proof of ownership and applicable fees. While insurance is not strictly required, liability coverage is strongly advised. LSVs must have headlights, brake lights, turn signals, a windshield, and seat belts. Operators need a valid driver’s license.
| Requirement | Golf Cart | LSV |
|---|---|---|
| Maximum Road Speed | 30 mph | 35 mph |
| Registration | Permit from local authority | State registration required |
| Safety Equipment | Recommended | Mandatory: lights, mirrors, seat belts, windshield |
| Insurance | Recommended | Highly advised |
| Driver’s License | Required | Required |
Where Can You Drive Golf Carts and LSVs in Minnesota?
Golf carts are allowed on streets with a 30 mph speed limit or designated paths for golf carts. LSVs can use roads with a 35 mph limit or designated lanes for LSVs. Both are prohibited on highways or faster roads unless explicitly permitted by local laws. Awareness of specific local ordinances ensures safe and legal operation.
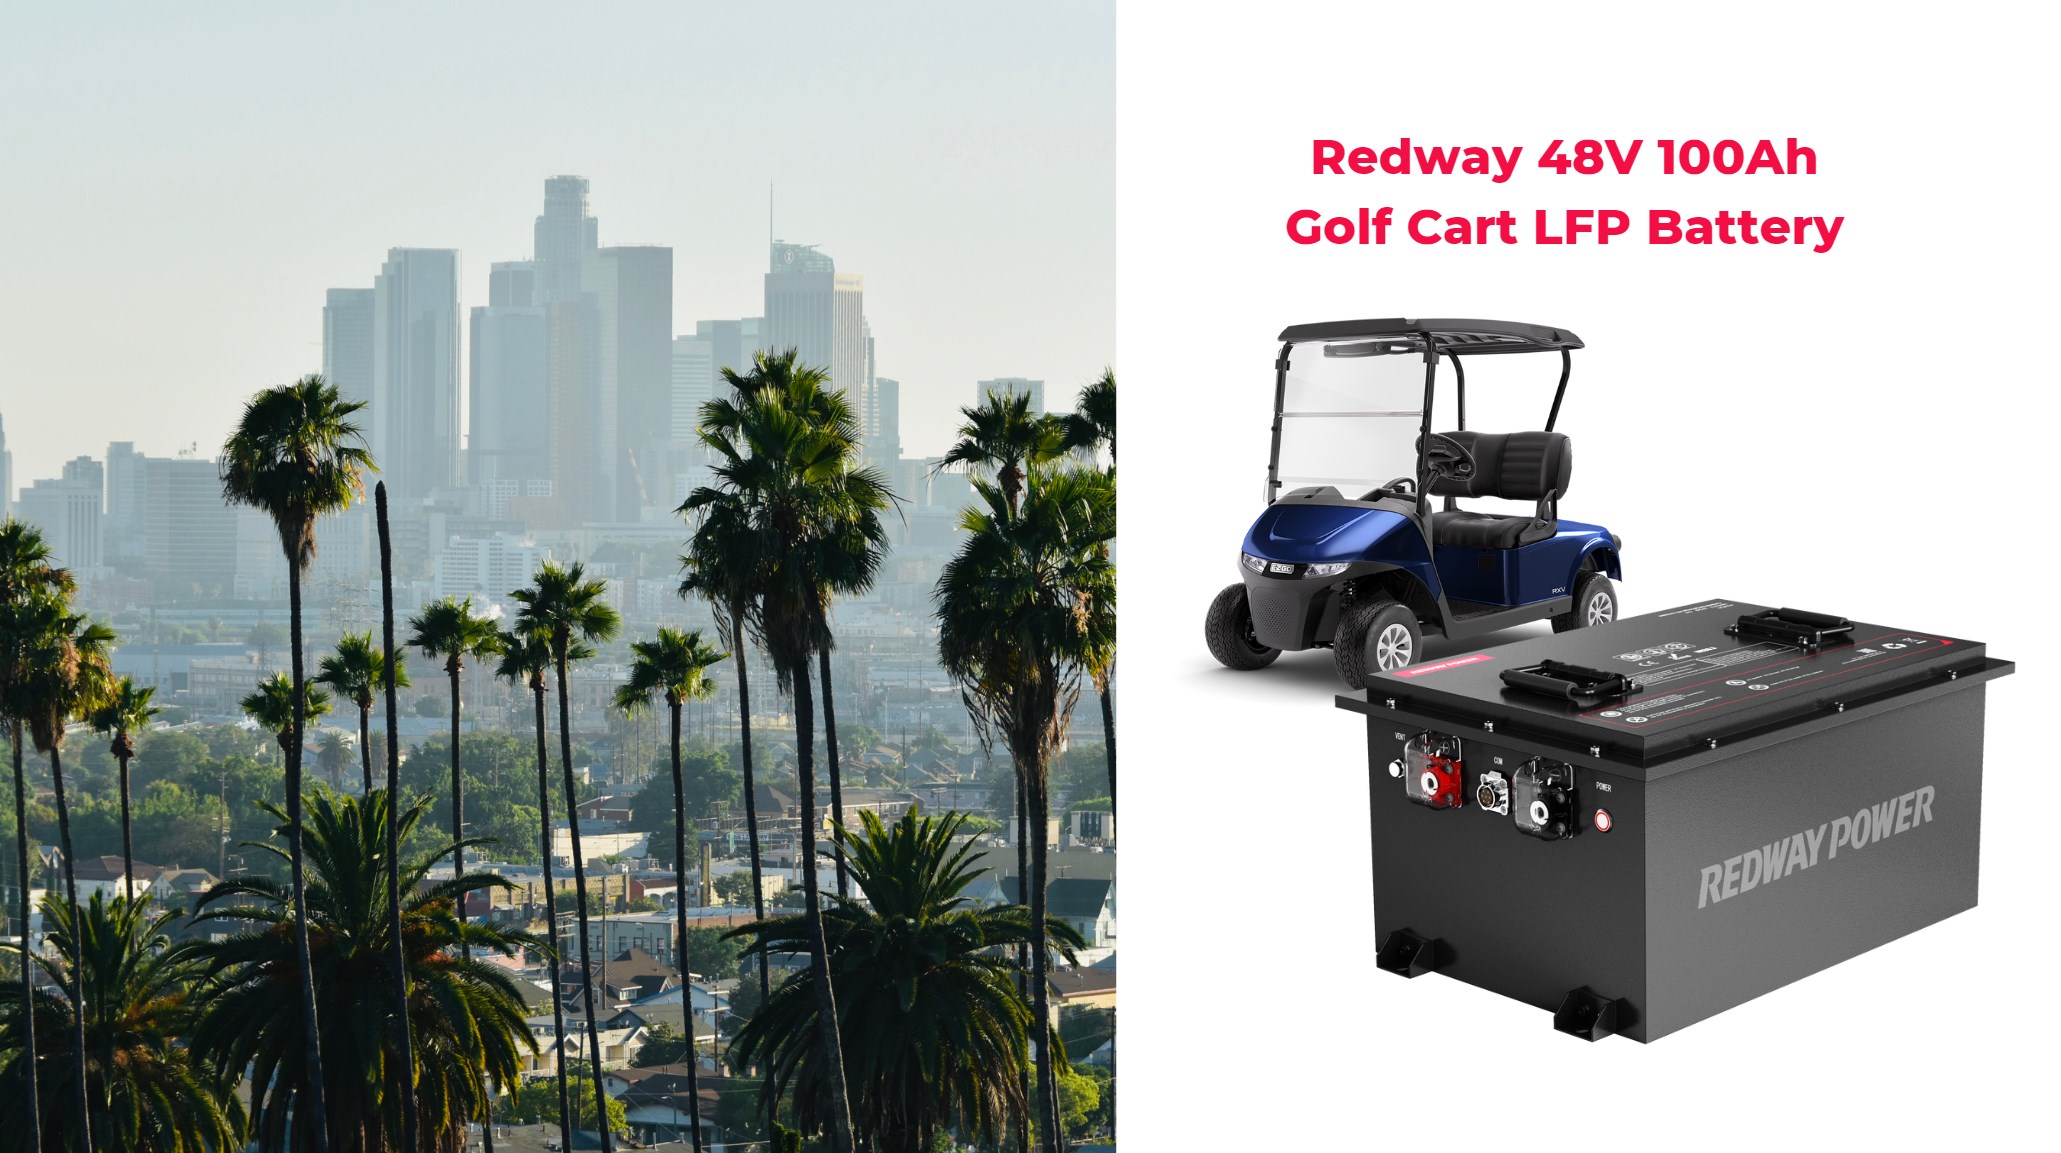
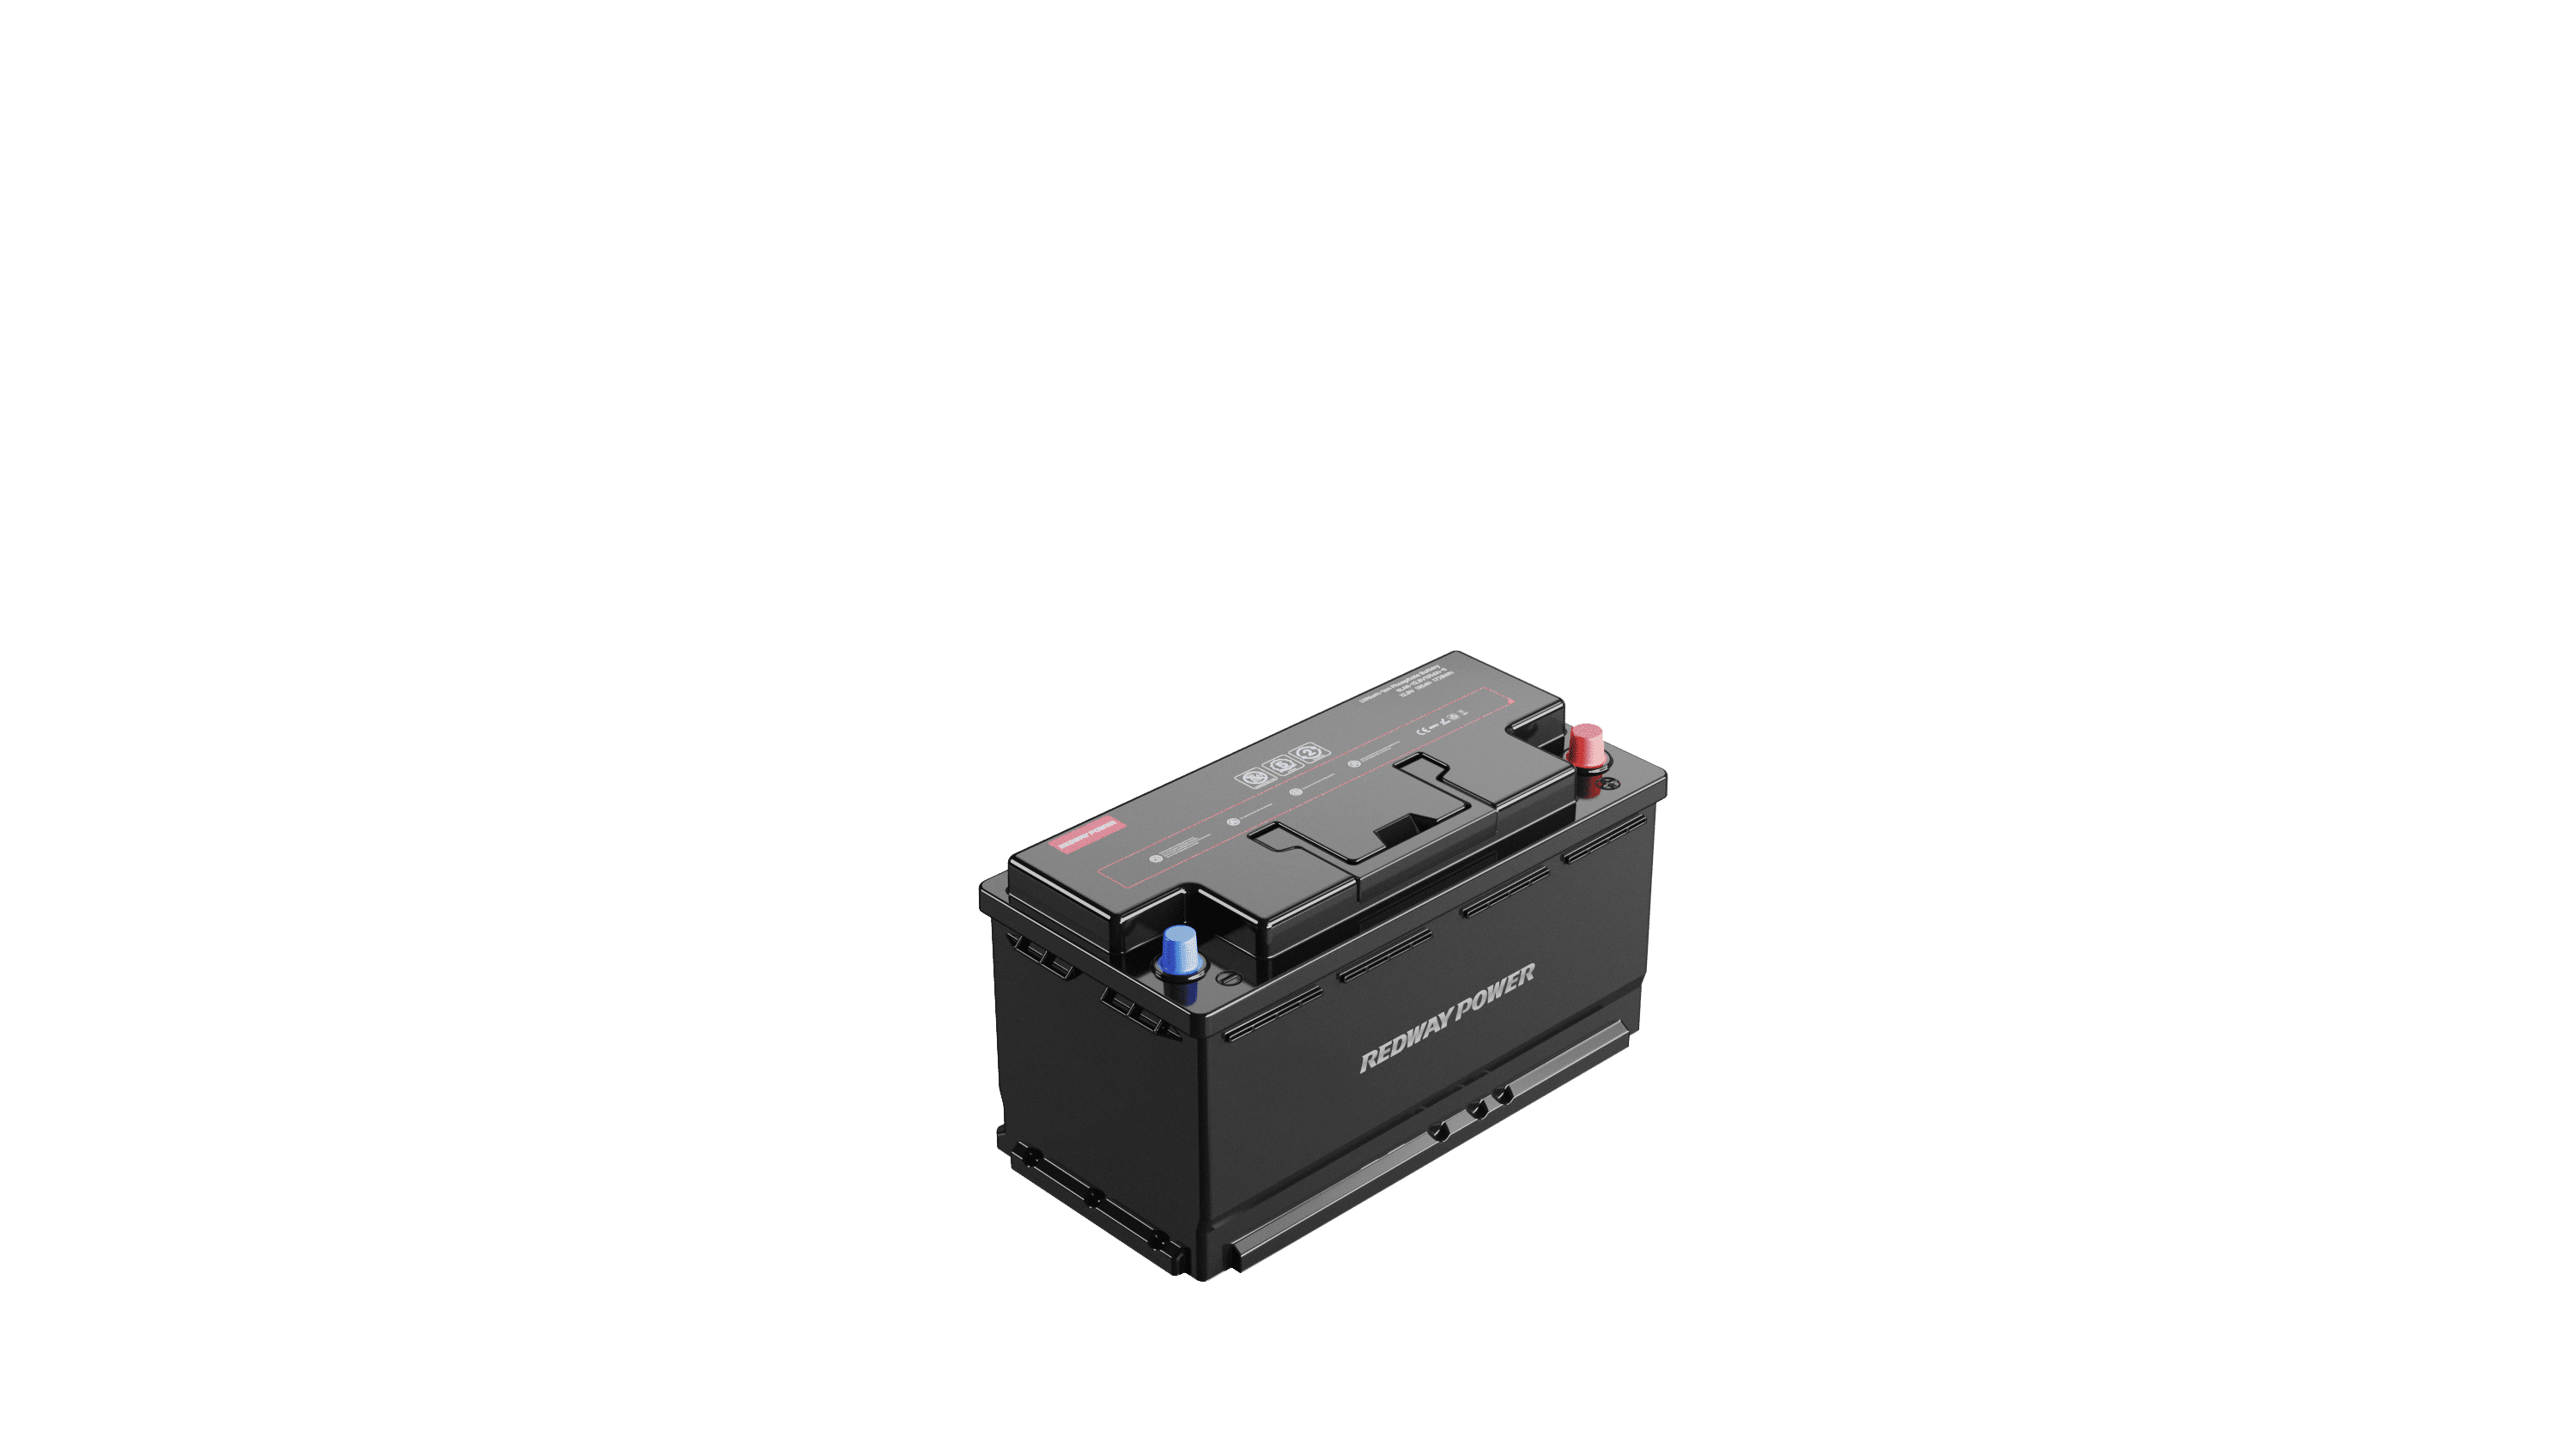
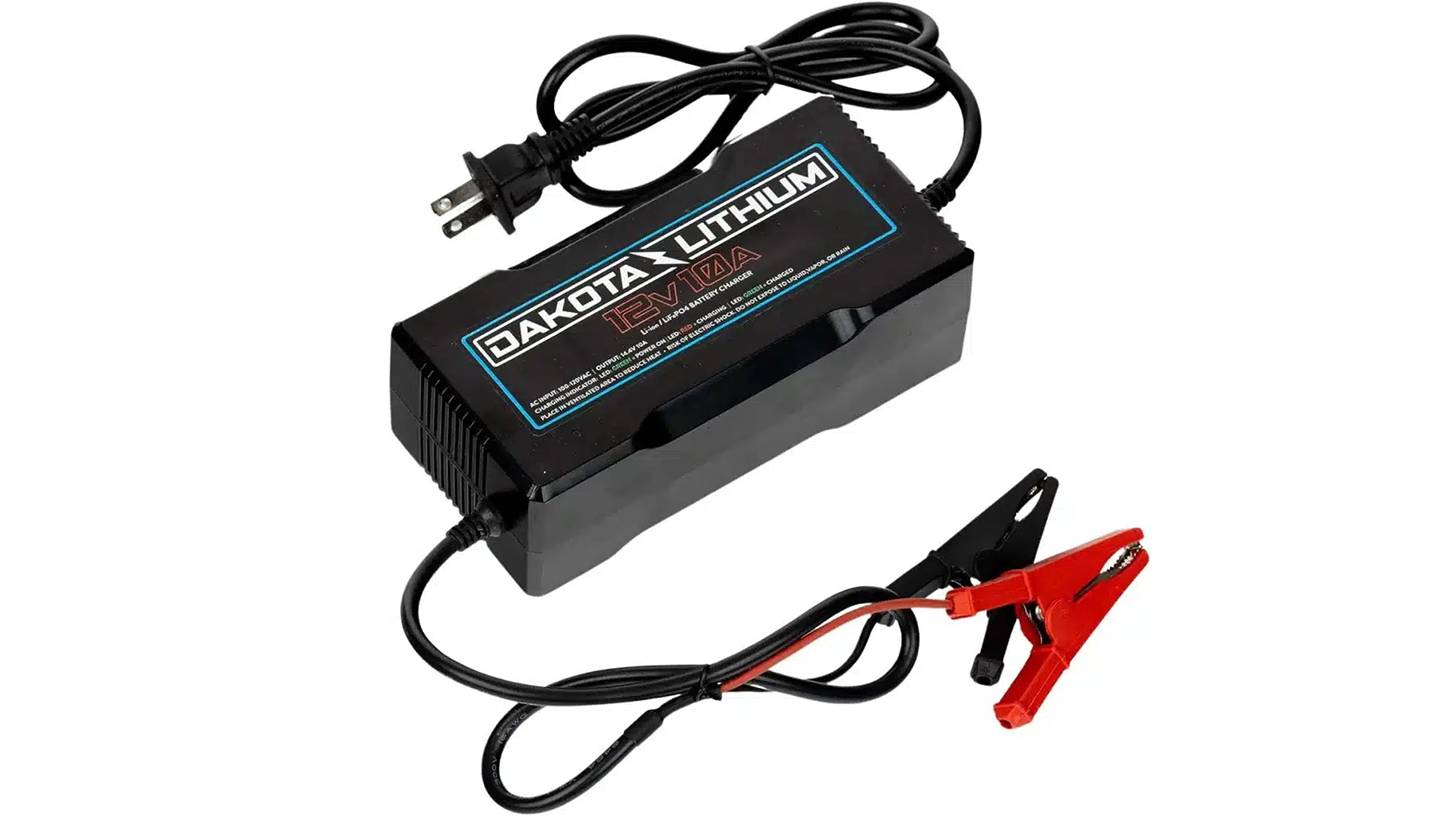
Why Are Redway Battery Solutions Ideal for Golf Carts and LSVs?
Redway Battery provides high-performance LiFePO4 batteries tailored for electric golf carts and LSVs. These batteries offer long life, superior safety, and consistent power output. Redway Battery’s OEM solutions are designed to support customized voltage and capacity requirements, helping operators maximize vehicle efficiency and reliability for daily use.
When Should You Check Local Ordinances Before Driving?
Local regulations can differ widely across Minnesota municipalities. Operators should confirm rules regarding permits, allowable streets, equipment requirements, and operating hours. Some cities impose restrictions on nighttime or poor-weather operation. Regularly reviewing local ordinances ensures compliance and avoids fines or liability issues.
Redway Expert Views
“As the demand for electric golf carts and LSVs grows in Minnesota, Redway Battery continues to support sustainable mobility solutions. Our lithium batteries provide safe, reliable energy, extending vehicle range while reducing maintenance. We emphasize customized solutions for different vehicle models, enabling optimal performance. Embracing electric-powered options is not only environmentally responsible but also enhances user convenience and operational efficiency.”
What Are the Benefits of Driving Golf Carts and LSVs in Minnesota?
Golf carts and LSVs offer several advantages:
-
Eco-Friendly Transportation: Zero emissions contribute to cleaner air and reduced environmental impact.
-
Cost Savings: Lower energy and maintenance costs make these vehicles economical for short trips.
-
Convenience: Compact size enables easy navigation through neighborhoods, parks, and shopping areas.
| Benefit | Golf Cart & LSV Impact |
|---|---|
| Environmental | Zero emissions |
| Cost | Lower energy & maintenance costs |
| Accessibility | Maneuverable in tight spaces |
Conclusion
Understanding Minnesota’s golf cart and LSV laws is crucial for legal and safe operation. Golf carts require local permits, while LSVs follow state registration and federal safety standards. Redway Battery supports this growing trend with high-quality LiFePO4 solutions that enhance performance and reliability. Operators should review local ordinances, equip vehicles with safety features, and consider Redway Battery for customized power solutions.
FAQs
What is the maximum speed for golf carts and LSVs in Minnesota?
Golf carts are limited to streets with a 30 mph speed limit, while LSVs can operate on roads with limits of 35 mph or lower.
Do LSVs require registration and insurance?
Yes, LSVs must be registered with the state and carrying liability insurance is strongly recommended.
Can golf carts operate on all public roads?
No, they are limited to designated streets or paths authorized by local permits. Highways and roads exceeding 30 mph are generally prohibited.
What safety equipment is required for LSVs?
LSVs must have headlights, brake lights, turn signals, seat belts, and a DOT-approved windshield. Golf carts are advised to have similar features for safety.
How can Redway Battery improve the performance of my electric golf cart or LSV?
Redway Battery offers customized lithium battery solutions that enhance power, extend lifespan, and ensure safe, reliable operation tailored to specific vehicle models.