
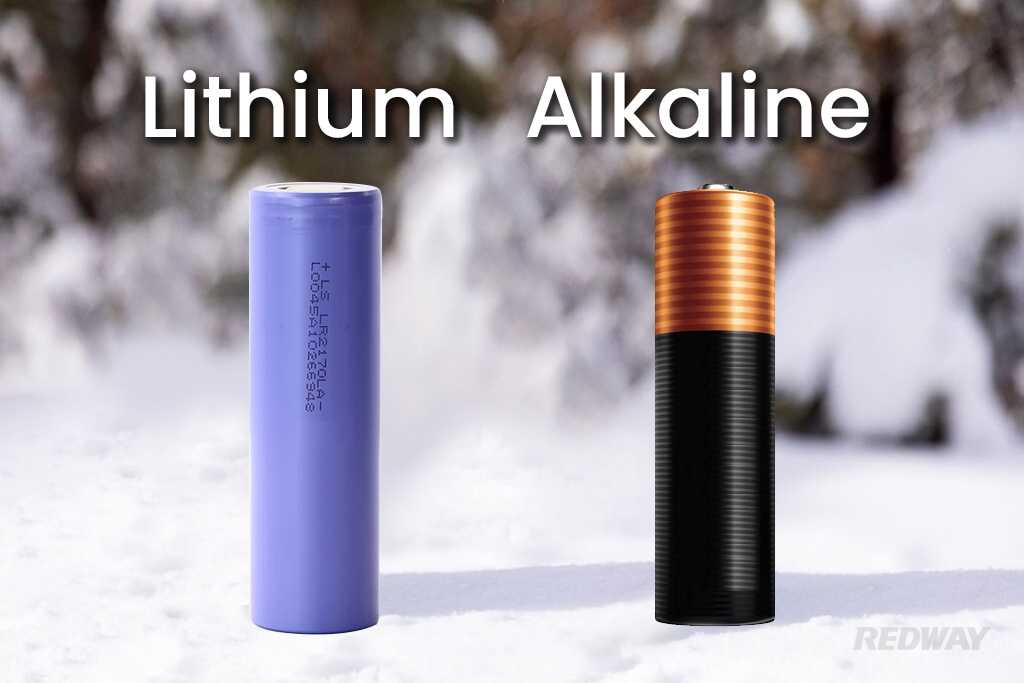
Are lithium batteries better than alkaline in cold weather?
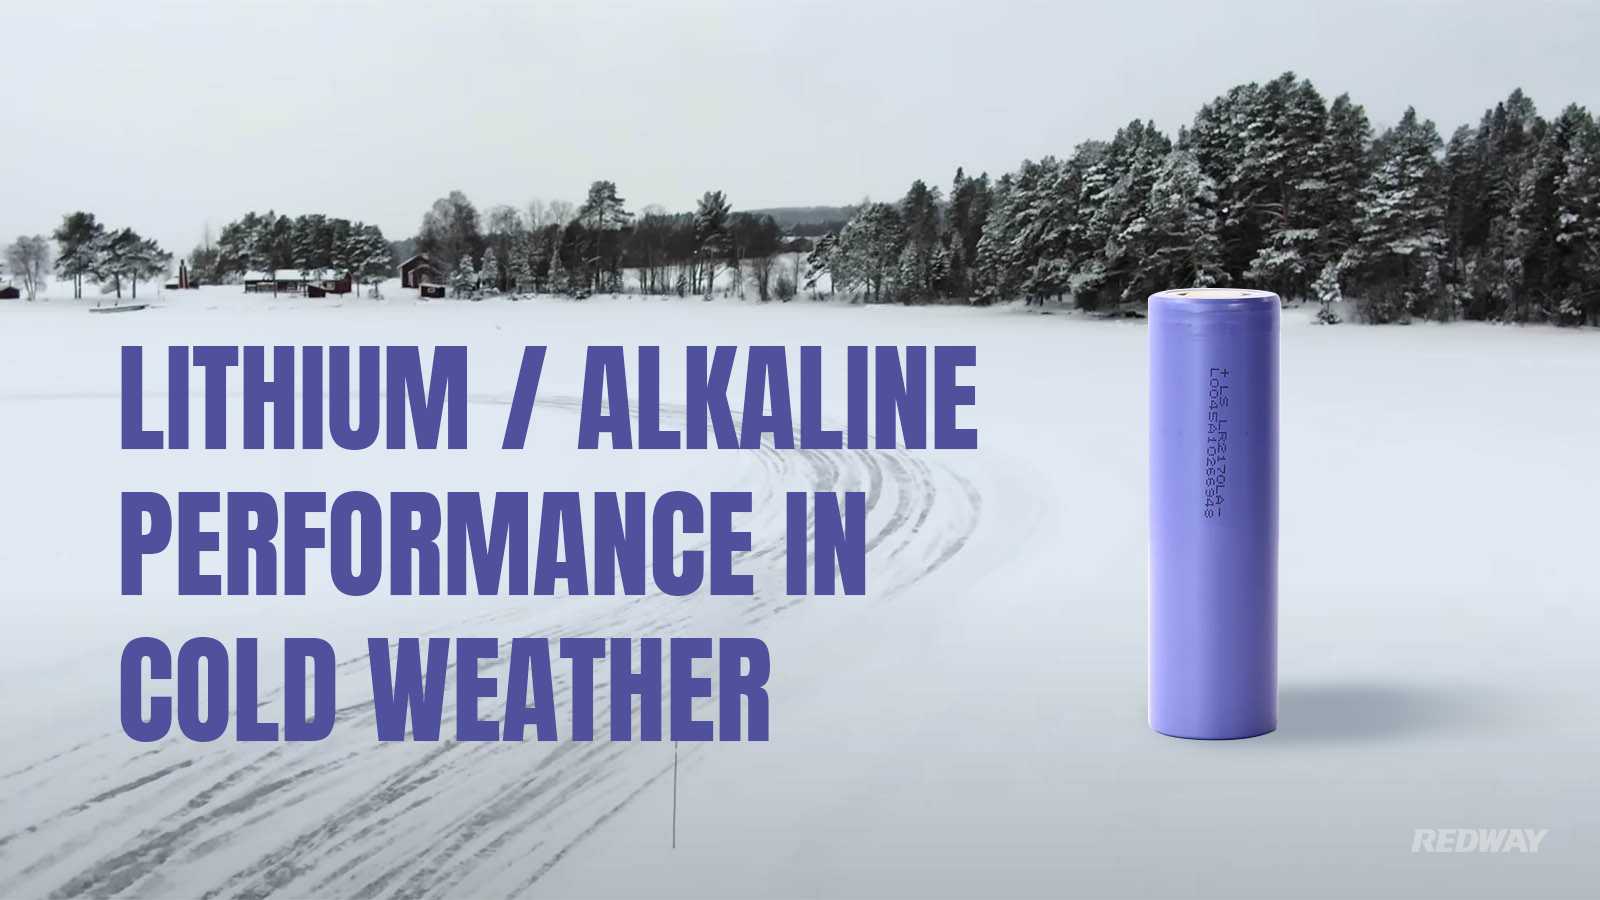
In this electrifying blog post, we’ll delve into a heated debate: are lithium batteries better than alkaline in cold weather? In cold weather, lithium batteries are generally known to perform better than alkaline batteries. They can operate in extremely cold climates, while alkaline batteries may experience reduced performance. However, the specific performance can vary depending on factors such as battery size and brand. Consider using lithium batteries for optimal performance in cold weather conditions.
Differences between Lithium and Alkaline Batteries
- Lithium batteries last 8 to 10 cycles longer than alkaline batteries.
- They maintain their full voltage until the end of their charge life.
- Alkaline batteries gradually decrease their voltage output.
- Despite being more expensive, lithium batteries offer a cost-effective choice due to their extended lifespan.
Performance in Cold Weather
Lithium batteries are known to perform better in cold weather compared to alkaline batteries. They are less affected by lower temperatures and can maintain their power output and capacity. Alkaline batteries may experience reduced performance and shorter lifespan in cold weather conditions. When using batteries in cold weather, consider using lithium batteries for optimal performance and reliability.
- Lithium batteries perform better than alkaline batteries in cold weather.
- They are less affected by lower temperatures and maintain their power output and capacity.
- Alkaline batteries may experience reduced performance and shorter lifespan in cold weather.
- Choose lithium batteries for optimal performance and reliability in cold weather conditions.
While both types of batteries can be used in cold weather situations, lithium batteries tend to have an edge when it comes to maintaining their performance and providing consistent power output. Whether you’re heading out on a winter camping trip or rely on battery-powered devices during frigid winters, considering the superior performance of lithium over alkaline could save you from unexpected battery failures when you need them most.
Safety Concerns
- Lithium batteries can present chemical and electrical hazards due to their flammable electrolyte and high energy density.
- Alkaline batteries are generally more environmentally friendly and do not leak when depleted.
- Both types of batteries should be handled with caution and proper storage and disposal guidelines should be followed.
- Consider the specific safety concerns associated with lithium and alkaline batteries when choosing the appropriate battery for your needs.
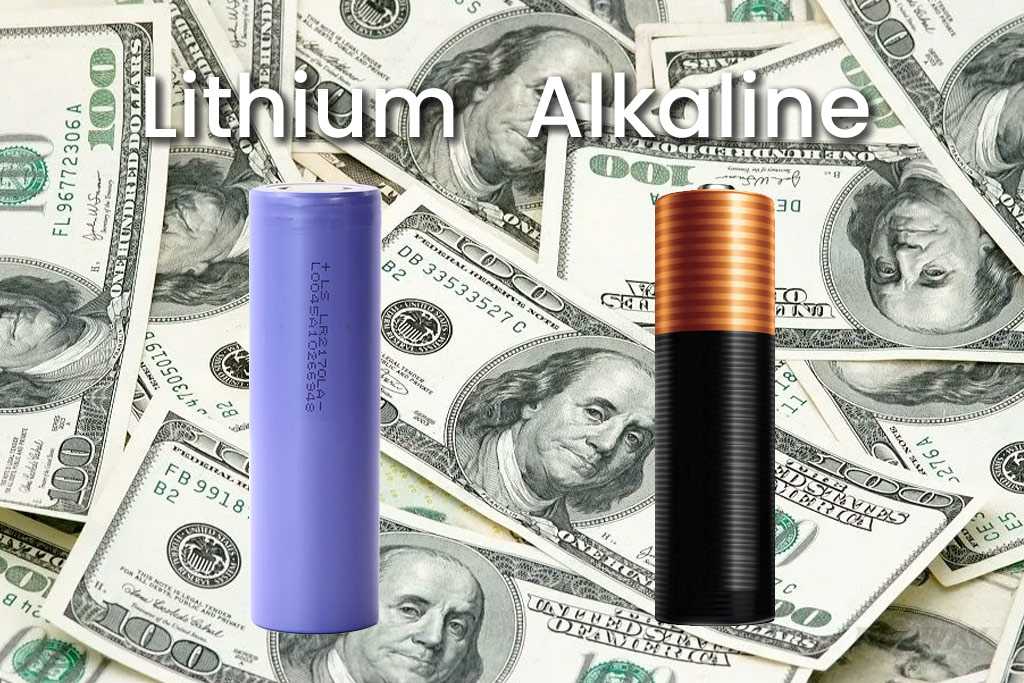
Cost Comparison
- Lithium batteries may cost up to 5 times more than alkaline batteries.
- However, they offer a significantly longer lifespan, lasting 8 to 10 cycles longer.
- This makes lithium batteries a cost-effective choice in the long run, despite the higher initial cost.
- Consider the trade-off between upfront cost and lifespan when choosing between lithium and alkaline batteries.
Eco-Friendliness
- Lithium-ion batteries are considered more eco-friendly than alkaline batteries due to their rechargeable nature.
- Rechargeability significantly reduces waste and resource consumption over time.
- The extraction process and transportation of lithium used in lithium batteries may have a higher carbon footprint.
- However, the rechargeability and longer lifespan of lithium-ion batteries make them a more sustainable choice in the long run.
What are the characteristics and advantages of Eneloop batteries?
-
Extremely Low Self-Discharge: Eneloop batteries are known for their exceptionally low self-discharge rate. They can retain a charge for longer periods compared to other NiMH or NiCD rechargeable batteries. This means you can store Eneloop batteries for extended periods without worrying about significant power loss.
-
Long-Term Storage: The low self-discharge characteristic of Eneloop batteries makes them perfect for applications that require long-term storage. Whether it’s emergency devices, backup power sources, or seasonal equipment, Eneloop batteries are ready to deliver power when needed.
-
Reliable Power Output: Eneloop batteries provide a high power output, ensuring consistent performance in various devices. Whether you’re using them in cameras, toys, or portable electronics, Eneloop batteries deliver reliable and stable power for optimal device performance.
What is the correct mAh rating for AAA Energizer NiMH rechargeable batteries?
-
Varying mAh Ratings: AAA Energizer NiMH rechargeable batteries come in different mAh ratings, such as 800mAh, 850mAh, or 1000mAh. The mAh rating indicates the capacity of the battery, representing the amount of energy it can store and deliver.
-
Impact on Performance: A higher mAh rating generally indicates a higher capacity battery, which means it can provide more power and potentially last longer between charges. However, it’s important to note that the actual performance of the battery may also depend on other factors such as the device’s power requirements and usage patterns.
-
Determining the Correct mAh Rating: To determine the correct mAh rating for AAA Energizer NiMH rechargeable batteries, it is recommended to refer to the product packaging or specifications provided by Energizer. This will ensure that you select the appropriate mAh rating based on your specific device and power needs.
What are the storage and operating temperature ranges for Duracell alkaline cells?
-
Operating Temperature Range: Duracell alkaline cells are designed to operate within a specific temperature range. The current featured snippet states that the operating temperature range for Duracell alkaline cells is -20ºC to 54ºC (-4ºF to 130ºF). This means that these batteries can function effectively within this temperature range without significant performance issues.
-
Storage Temperature Range: While the operating temperature range indicates the temperature at which Duracell alkaline cells can function, the storage temperature range refers to the recommended temperature range for storing these batteries. It is generally recommended to store Duracell alkaline cells between 10°C (50°F) and 25°C (77°F) with a relative humidity not exceeding 65 percent.
-
Impact of Extreme Temperatures: Extreme temperatures, both high and low, can have an adverse effect on the performance and lifespan of alkaline cells. Exposure to temperatures outside the recommended ranges may result in reduced capacity, leakage, or even damage to the batteries. It is important to avoid subjecting Duracell alkaline cells to extreme temperature conditions to ensure optimal performance and longevity.
What are the self-discharge rates of Duracell alkaline cells?
-
Self-Discharge Rates: While specific information about the self-discharge rates of Duracell alkaline cells is not readily available, it is generally known that alkaline batteries, including Duracell alkaline cells, have a self-discharge rate of approximately 2-3% per year. This means that they can retain around 97-98% of their charge within a year of storage.
-
Factors Influencing Self-Discharge: The self-discharge rates of batteries can be influenced by various factors, including temperature and storage conditions. Higher temperatures can accelerate self-discharge, while cooler temperatures can help preserve battery charge for longer periods. It is recommended to store Duracell alkaline cells in a cool and dry environment to minimize self-discharge.
-
Shelf Life and Usage Considerations: The self-discharge rates of Duracell alkaline cells contribute to their shelf life and usability. With a self-discharge rate of approximately 2-3% per year, Duracell alkaline cells can maintain a significant portion of their charge even after extended periods of storage. However, it’s important to consider the remaining charge and recharge or replace batteries as needed for optimal performance.
Conclusion: Which Battery is Better for Cold Weather?
- Lithium batteries are preferred for cold weather due to their ability to withstand lower temperatures without performance loss.
- They contain a non-aqueous electrolyte, allowing them to maintain their performance in cold conditions.
- Alkaline batteries may experience reduced performance and shorter lifespan in cold weather.
- Choose lithium batteries for optimal performance and longer lifespan in cold weather conditions.
FAQs
What are the two different chemistries of AA batteries?
- Rechargeable AA batteries have two different chemistries: nickel-cadmium (NiCd) and nickel-metal hydride (NiMH).
- NiCd batteries have a capacity of roughly 600-1,000 mAh, while NiMH batteries offer various capacities from 600-2,750 mAh.
- These chemistries enable AA batteries to be recharged and used repeatedly.
- Non-rechargeable AA batteries commonly use alkaline or lithium chemistries.
What is the best AA battery chemistry?
- The best AA battery chemistry is lithium.
- Lithium batteries offer high voltage, high capacity, and fairly high current.
- They are known for exceptional performance and are suitable for high-drain devices.
- Lithium batteries also perform well in low-temperature conditions, making them the top choice for optimal performance.
What is the composition of AA battery?
- An AA battery is composed of a steel casing.
- The electrochemical cell inside the battery consists of a mix of zinc, manganese, potassium, and graphite.
- These materials enable the battery to generate electrical energy.
- The battery also includes non-toxic and recyclable components like paper and plastic.
Which is better NiMH or lithium AA batteries?
- Lithium AA batteries have a longer cycle life of up to 1,000 cycles.
- They provide higher output power compared to NiMH batteries.
- Lithium batteries also offer faster charging speeds.
- It is important to consider different opinions on the performance of NiMH and lithium AA batteries for specific applications.
What is the difference between lithium AA batteries and alkaline AA batteries?
- Lithium AA batteries have a higher capacity compared to alkaline batteries.
- They are suitable for devices that require longer-lasting power.
- Lithium batteries can withstand extreme temperature variations, making them ideal for outdoor use.
- Alkaline AA batteries are best suited for devices with low or medium power requirements.
How Do Rechargeable AA Batteries Perform in Cold?
-
Battery Types: There are two main types of rechargeable AA batteries – Lithium-ion (Li-ion) and Nickel-Metal Hydride (NiMH). Both these types are known to perform better in cold conditions than non-rechargeable batteries.
-
Cold Impact: Despite their superior performance, extreme cold can still affect these batteries. When it’s very cold, the chemical reactions inside the battery slow down, which can reduce the battery’s power output.
What Types of AA Batteries Are There?
-
Alkaline AA Batteries: These are the most commonly used AA batteries. They’re great for everyday devices like remote controls, toys, and clocks. However, they have a shorter lifespan compared to other types.
-
Rechargeable NiMH AA Batteries: These are a cost-effective and environmentally friendly option. They can be recharged hundreds of times, saving you money in the long run. They’re ideal for devices that need frequent battery replacements, like digital cameras or game controllers.
-
Lithium AA Batteries: These offer high performance and long-lasting power. They’re more expensive, but they last longer, making them a good choice for high-drain devices like flashlights or camping gear.
How has battery technology possibly changed over the past 10 years?
-
Solid-State Batteries: The discovery of new families of solid electrolytes with high ionic conductivity has been a significant breakthrough. These solid-state batteries offer advantages such as improved safety, higher energy density, and faster charging times. By overcoming the limitations of traditional liquid electrolytes, solid-state batteries hold promise for the future of energy storage.
-
Lithium-Ion Battery Improvements: Over the past decade, there have been notable improvements in lithium-ion battery production. This has resulted in an 85% decline in prices, making electric vehicles and energy storage more affordable. The increased accessibility of lithium-ion batteries has accelerated the adoption of clean energy solutions and contributed to the growth of the electric vehicle market.
-
Future Prospects: Battery technology continues to advance, with ongoing research and development focused on enhancing energy density, charging speed, and overall performance. Innovations such as next-generation battery chemistries and the use of critical materials are expected to further improve battery technology and drive the transition towards a sustainable and electrified future.
What are the self-discharge rates and storage recommendations for rechargeable cells?
-
Self-Discharge Rates: The self-discharge rate refers to the rate at which a battery loses its charge over time when not in use. Different battery chemistries have varying self-discharge rates. Lithium-ion batteries typically have a self-discharge rate of 2-3% per month, while low self-discharge NiMH batteries can have rates as low as 0.25% per month. Lead-acid batteries, commonly used in automotive applications, have a higher self-discharge rate of 4-6% per month.
-
Storage Recommendations: To maintain optimal performance and prolong the lifespan of rechargeable cells, it is important to follow proper storage practices. It is recommended to store rechargeable cells at a partial state of charge, around 40%, as storing them fully charged or fully discharged can lead to capacity loss. Additionally, storing cells in a cool and dry environment helps minimize self-discharge and prevent degradation.
-
Considerations for Different Chemistries: Each battery chemistry has its own unique characteristics and storage requirements. It is essential to refer to the manufacturer’s guidelines and specifications for specific recommendations regarding self-discharge rates and storage conditions. By following these recommendations, you can ensure that your rechargeable cells are ready for use whenever you need them.
What are the self-discharge characteristics and storage recommendations for lithium batteries?
-
Self-Discharge Characteristics: Lithium batteries exhibit relatively low self-discharge rates compared to other battery chemistries. On average, they have a self-discharge rate of up to 5% per month. This means that when not in use, a lithium battery will gradually lose around 5% of its charge per month.
-
Storage Recommendations: To preserve the performance and lifespan of lithium batteries during storage, it is important to follow specific recommendations. Firstly, if the battery will not be used for an extended period, it is advisable to charge it with 50% to 60% of its power. This partial state of charge helps maintain the battery’s stability. Secondly, it is recommended to remove the battery from the instrument or device and store it in a dry and cool environment. This helps minimize the effects of temperature and moisture on the battery’s performance and longevity. Lastly, it is advised to periodically charge the battery every 3 months to prevent excessive storage time and self-discharge.
How do NiMH rechargeable cells perform compared to alkaline batteries at temperatures below 40°F?
-
NiMH Rechargeable Cells: NiMH rechargeable cells exhibit better performance than alkaline batteries when subjected to cold temperatures. While both types of batteries experience a decrease in performance, NiMH batteries have a higher capacity retention, allowing them to provide usable power even in chilly conditions. This makes them a reliable choice for applications requiring batteries in cold weather.
-
Alkaline Batteries: On the other hand, alkaline batteries tend to suffer a significant reduction in performance and capacity at temperatures below 40°F. The cold weather affects the chemical reactions within the battery, leading to decreased power output and shorter battery life. As a result, alkaline batteries may not be as reliable or efficient in cold weather conditions.
-
Benefits of NiMH Rechargeable Cells: One of the key advantages of NiMH rechargeable cells is their ability to maintain performance levels close to room temperature even in cold temperatures. This means that NiMH batteries can still deliver reliable power when other battery types may struggle. Additionally, NiMH batteries are rechargeable, providing a sustainable and cost-effective solution for cold weather applications.