-
Mismatch between Solar Panel and Device:
Compatibility is key when it comes to solar panel charging. A mismatch between the solar panel and the Ring camera can hinder the charging process. Ensure that the solar panel is compatible with your specific Ring camera model to ensure seamless charging functionality. -
Dirt Accumulation on the Panel:
Over time, dust, debris, or dirt can accumulate on the surface of the solar panel, reducing its efficiency. Regular cleaning of the panel’s surface is essential to maintain optimal charging performance. Gently wipe away any dirt or debris using a soft cloth or sponge to ensure maximum sunlight absorption. -
Insufficient Sunlight Exposure:
The effectiveness of a solar panel relies on adequate sunlight exposure. If the solar panel is placed in a shaded area or obstructed by objects, it may not receive sufficient sunlight to generate the necessary energy for charging. Ensure proper placement of the solar panel in a location that receives ample sunlight throughout the day.
Common Reasons Why Solar Panels Aren’t Charging
-
Insufficient Sunlight Exposure:
One of the primary reasons for solar panel charging issues is insufficient sunlight exposure. If the panels are shaded by trees, buildings, or other obstructions, they may not receive enough sunlight to generate the necessary power. Regularly assess the panel’s placement and ensure it is positioned to receive maximum sunlight throughout the day. -
Technical Faults in the Solar System:
Technical faults within the solar system can disrupt the charging process. Wiring issues, malfunctioning solar charge controllers, or problems with the inverter can prevent the panels from effectively charging the batteries. Conduct regular system checks and seek professional assistance to identify and resolve any technical faults. -
Faulty Solar Panels:
Over time, solar panels can develop faults, such as damaged cells or connections. These faults can hinder the charging process and reduce the overall efficiency of the panels. Regular maintenance and inspections are essential to identify and address any issues with the panels promptly.
Check for Obstructions or Damage
-
Look for Obvious Signs of Damage:
Begin by inspecting the solar panels for any visible signs of damage, such as cracks, loose connections, or physical defects. These issues can disrupt the flow of electricity and prevent the panels from effectively converting sunlight into energy. If any damage is detected, it is important to address it promptly to restore the panels’ functionality. -
Check for Obstructions:
Next, examine the area surrounding the solar panels for any obstructions that may cast shadows or block sunlight. Even partial shading can significantly impact the panels’ performance. Trees, buildings, or other objects that obstruct sunlight should be trimmed or repositioned to ensure maximum exposure to sunlight throughout the day. -
Clean the Panels:
Dirt, debris, or shading on the surface of the solar panels can reduce their efficiency and hinder the charging process. Regular cleaning is crucial to maintain optimal sunlight absorption. Use a soft cloth or sponge to gently remove any dirt or debris from the panel’s surface. Additionally, ensure that there is no shading caused by leaves, branches, or other objects.
Ensure Proper Placement and Direction
-
Best Orientation for Solar Panels:
In the northern hemisphere, the ideal orientation for solar panels is facing true south. This allows the panels to receive maximum sunlight exposure throughout the day. Conversely, in the southern hemisphere, panels should face true north to optimize sunlight absorption. Aligning the panels correctly based on the hemisphere ensures optimal energy generation. -
Maximize Sunlight Exposure:
To ensure proper placement, it is crucial to consider any potential obstructions that may cast shadows on the solar panels. Trees, buildings, or other objects that obstruct sunlight should be taken into account when positioning the panels. By avoiding shading, you can maximize sunlight exposure and enhance the charging efficiency of the panels. -
Tilt Angle Optimization:
While the direction is important, the tilt angle of the solar panels also plays a significant role. Experts suggest tilting the panels between 15 and 40 degrees, depending on the location and climate. This tilt angle allows for better sunlight absorption and energy generation, especially in areas with varying seasons or climates.
Review Power Source and Connection
-
Check the Solar Charger:
Start by checking the solar charger to ensure it is functioning properly. Measure the voltage output of the charger to verify that it is delivering the expected power to charge the batteries. If the voltage is below the required level, there may be an issue with the charger that needs to be addressed. -
Inspect the Solar Charge Controller:
The solar charge controller plays a crucial role in regulating the charging process. Inspect the controller for any faults or malfunctions that may be preventing the panels from charging effectively. Look for error codes or warning indicators that can provide insights into the controller’s condition. -
Review Wiring and Connections:
Examine the wiring and connections between the solar panels, charge controller, and batteries. Loose or faulty connections can disrupt the flow of electricity and hinder the charging process. Ensure that all connections are secure and properly tightened. If any wiring issues are detected, they should be addressed promptly.
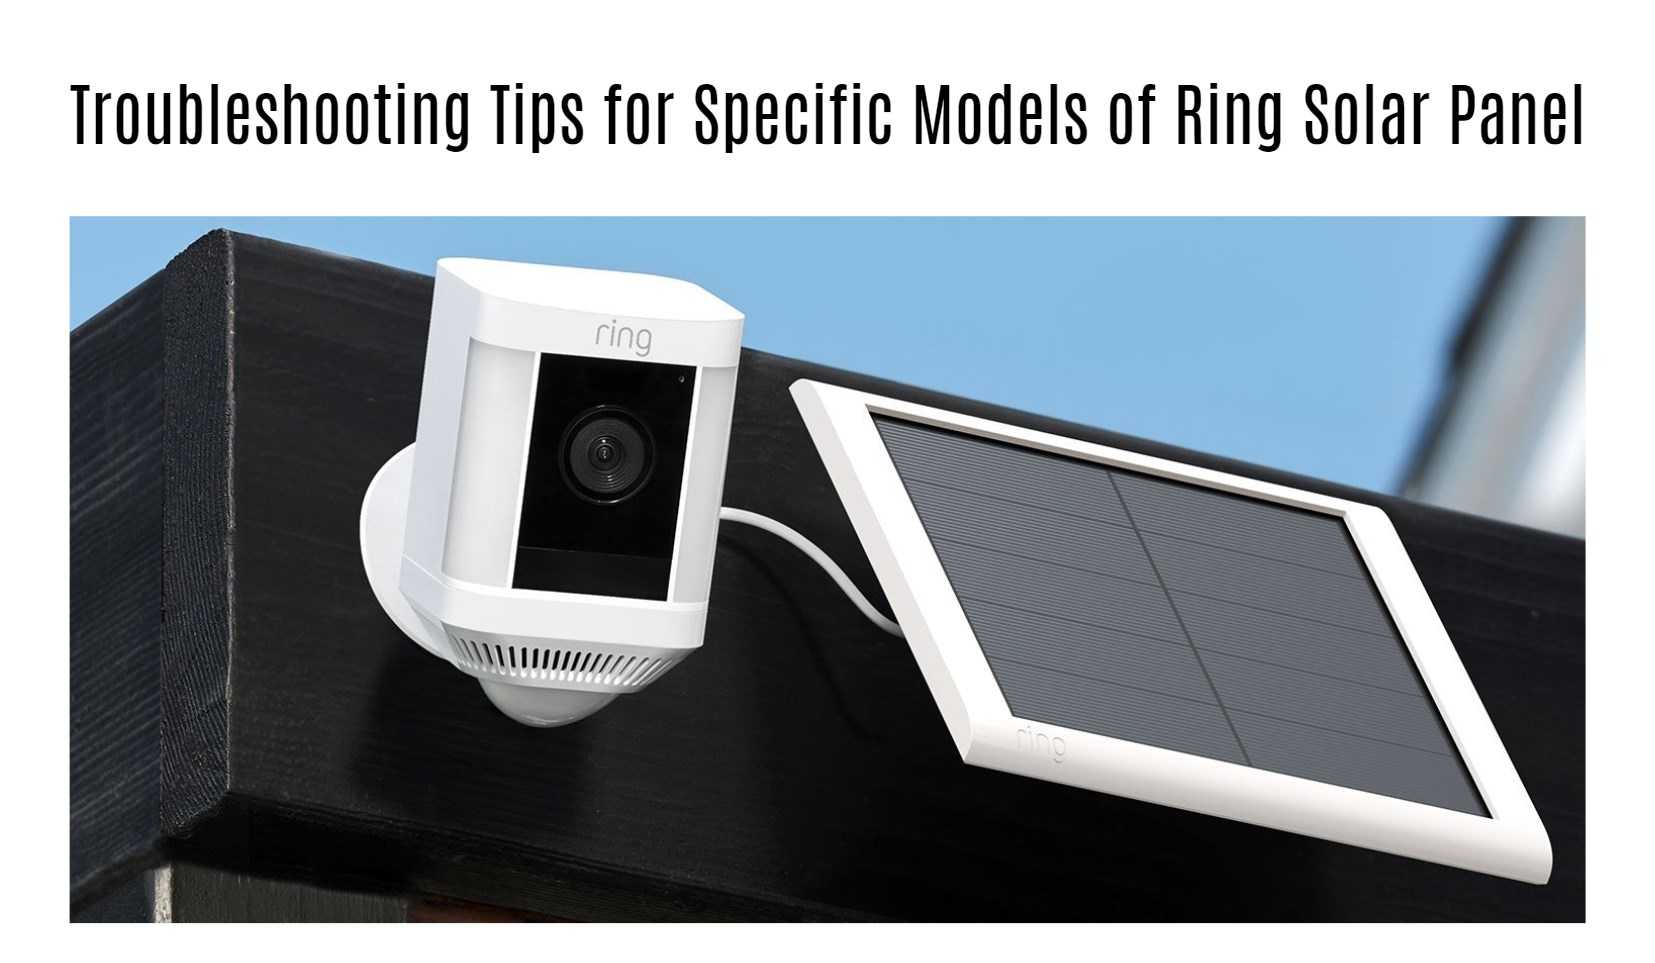
Troubleshooting Tips for Specific Models of Ring Solar Panel
-
Provide Enough Sunlight:
Ensure that the Ring Solar Panel receives sufficient sunlight exposure throughout the day. Check for any obstructions or shadows that may hinder the charging process. Placing the panel in an area with maximum sunlight can optimize its performance. -
Check the Solar Panel Compatibility:
Verify that the specific model of Ring Solar Panel you are using is compatible with your Ring device. Not all models are compatible with every Ring device, so it is important to ensure a proper match for seamless charging. -
Inspect for Defects:
Carefully examine the solar panel for any visible defects or damage. Look for cracks, loose connections, or any other issues that may affect its performance. If any defects are found, consider contacting the manufacturer for further assistance. -
Verify Wire Connections:
Check the wires connecting the solar panel to the Ring device. Ensure that they are securely connected and free from any damage or corrosion. Loose or damaged wires can disrupt the charging process and should be addressed promptly. -
Reboot the Connected Device:
Try rebooting the Ring device connected to the solar panel. Sometimes, connectivity issues can be resolved by simply rebooting the device. This can help establish a fresh connection and restore proper charging. -
Check Battery Level:
Verify the battery level of your Ring device. If the battery is low, it may not charge effectively even with a functioning solar panel. Recharge or replace the battery if necessary to ensure optimal charging performance. -
Reinstall the Solar Panel:
If all else fails, consider reinstalling the Ring Solar Panel. Disconnect and reconnect the panel, ensuring a secure and proper connection. This can help troubleshoot any potential issues with the initial installation. -
Contact the Support Team:
If the troubleshooting steps do not resolve the issue, it is recommended to reach out to the Ring support team for further assistance. They can provide specific guidance and troubleshooting tailored to your situation, ensuring a prompt resolution to the charging issue.
Contacting Ring Customer Support
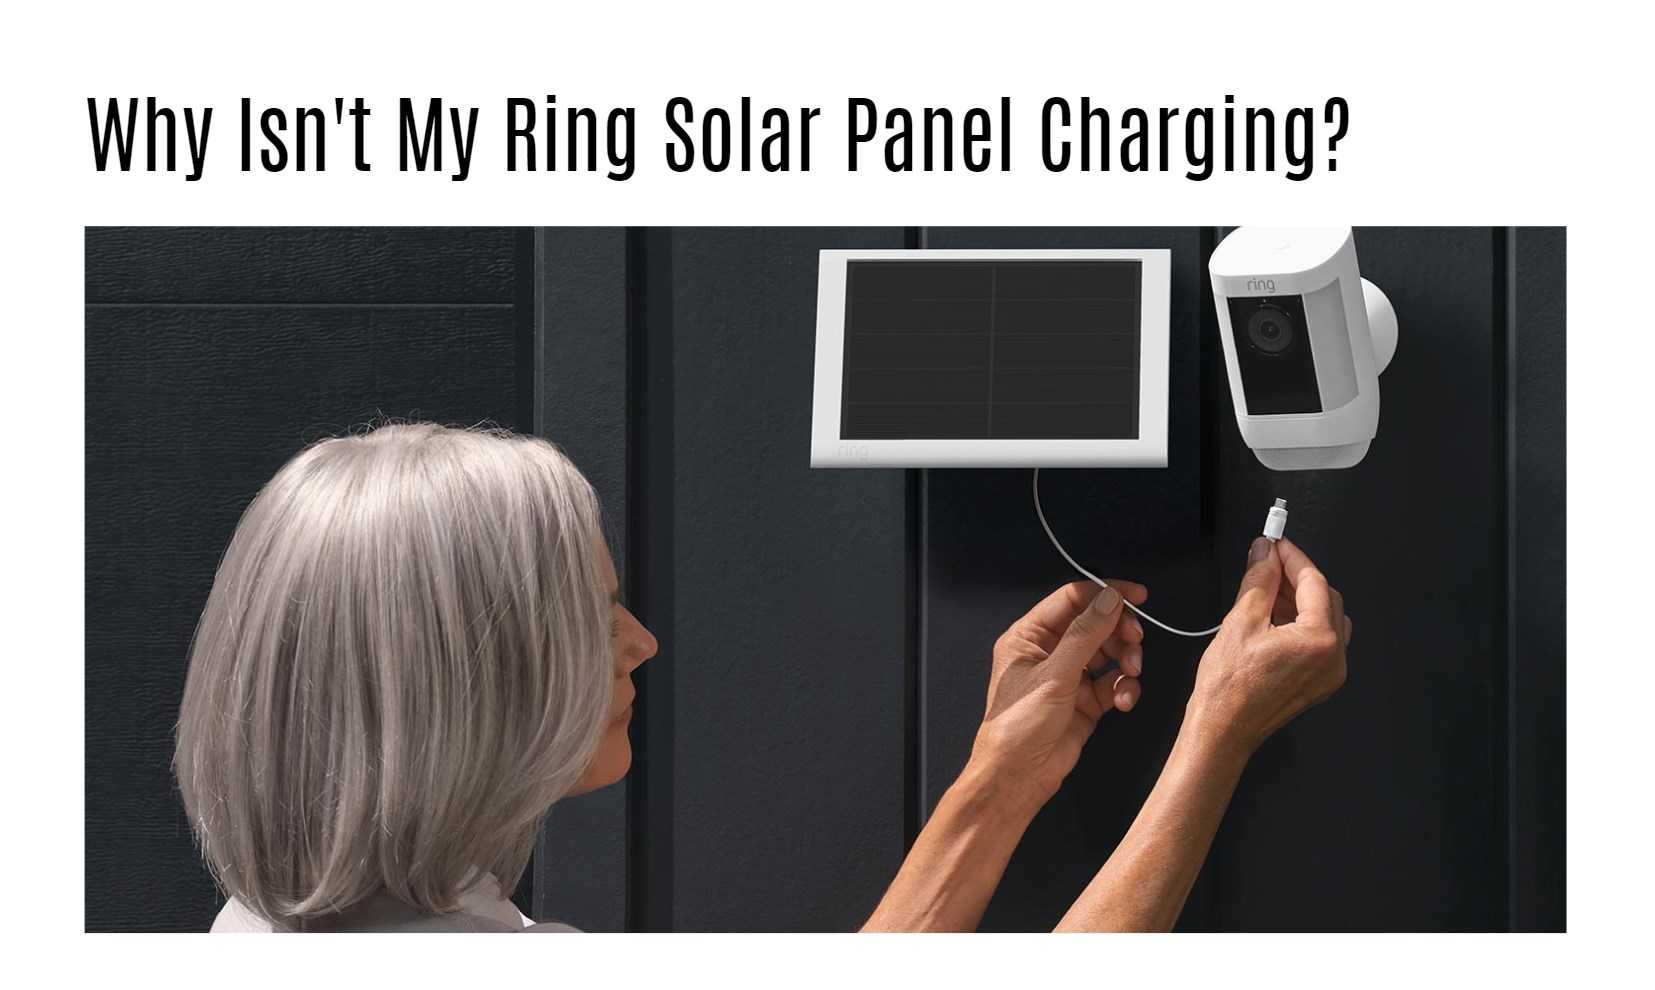
If you’ve tried troubleshooting your Ring Solar Panel and it still isn’t charging, don’t fret. Contacting Ring Customer Support can provide you with the assistance you need to get your solar panel up and running efficiently.
Ring’s customer support team is well-equipped to handle any technical issues or questions you may have about your solar panel. They can offer personalized guidance based on the specific model you own, ensuring that you receive accurate and tailored solutions.
To reach out to Ring Customer Support, visit their website or give them a call. Be prepared to provide details about your solar panel, such as its model number and any troubleshooting steps you’ve already taken. This information will help the support team diagnose the issue more effectively.
By contacting Ring Customer Support, you’re taking proactive steps towards resolving any charging issues with your solar panel swiftly and effectively. Don’t hesitate to reach out for expert assistance whenever needed – they are there to help!
Conclusion
Ensuring that your Ring Solar Panel is charging properly is essential for keeping your Ring devices powered and functioning effectively. By following the troubleshooting tips provided in this guide, you can quickly identify and resolve any issues preventing your solar panel from charging.
Remember to regularly check for obstructions or damage, confirm proper placement and direction for optimal sunlight exposure, and review the power source and connections. If you encounter specific problems with certain models of Ring Solar Panels, refer to the troubleshooting tips tailored to those devices.
If all else fails, don’t hesitate to reach out to Ring’s customer support for further assistance. With a little diligence and some expert guidance when needed, you’ll have your Ring Solar Panel up and running efficiently in no time. Keep those batteries charged, keep your home secure – happy monitoring!
FAQs
How can I adjust my Motion Sensitivity and Motion Frequency to optimize battery life for Ring devices?
-
Adjusting Motion Sensitivity: By reducing the motion sensitivity, you can minimize false motion alerts triggered by irrelevant movements, such as swaying trees or passing cars. This helps conserve battery power by avoiding unnecessary activations.
-
Optimizing Motion Frequency: Another way to optimize battery life is by adjusting the motion frequency to a less frequent setting. This reduces the number of motion events recorded, preserving battery power for longer periods. Selecting a less frequent motion frequency setting can strike a balance between capturing important events and conserving battery life.
-
Step-by-Step Instructions: To adjust the motion sensitivity and motion frequency, follow these steps:
a. Tap the menu (≡) on the top left of the Dashboard.
b. Select the device you want to adjust.
c. Access the Motion Settings.
d. Navigate to Advanced Settings.
e. Tap on Motion Frequency.
f. Choose a less frequent setting, such as “Frequently,” “Regularly,” or “Periodically.”
g. Save the changes in the upper right corner.
How do cloudy weather and snow affect the performance of Ring solar devices?
-
Cloudy Weather: Cloudy weather conditions result in reduced direct sunshine, which significantly decreases the power generation capacity of solar panels. With less sunlight available, the efficiency of solar panels is compromised, leading to a decrease in energy production.
-
Snow Coverage: Snow can pose an additional challenge for solar panels. When snow covers the surface of the panels, it obstructs the sunlight from reaching the photovoltaic cells. This obstruction reduces the efficiency of the solar panels and limits their ability to generate electricity.
-
Energy Production on Cloudy and Snowy Days: Despite the challenges posed by cloudy weather and snow, solar panels can still produce energy on such days. While the energy production may be lower compared to sunny days, solar panels can capture diffuse sunlight and convert it into usable electricity. This allows for some level of energy generation even in less optimal weather conditions.
How do I recharge the battery, hardwire Ring devices, and troubleshoot power issues?
-
Recharging the Battery: To recharge the battery of Ring devices, connect the device using a USB cable and monitor if it drains again. This ensures that the battery is replenished and ready for optimal performance.
-
Hardwiring Ring Devices: If your Ring device is hardwired but showing a low battery, it’s important to check the voltage received by the device. Open the Ring app, select the device, and navigate to Device Health to verify the voltage. Additionally, ensure that the power source is functioning properly to provide sufficient power to the device.
-
Troubleshooting Power Issues: When encountering power-related issues with Ring devices, there are several troubleshooting steps you can take. Start by refreshing the Ring app to ensure accurate battery level readings. Check your Wi-Fi connection to ensure a stable connection between the device and the Ring app. If the issue persists, consider seeking expert solutions or contacting Ring support for further assistance.
How do I use the Ring app and understand its feature settings?
-
Accessing the Side Menu: To begin, tap the menu icon located in the upper-left hand corner of the app. This action opens the side menu, where you can find various features and settings.
-
Navigating the Main Screen: From any section within the app, you can easily return to the main screen by tapping the menu icon again. This allows for seamless navigation and quick access to different functionalities.
-
Customizing Motion Detection: One of the key features of the Ring app is the ability to customize motion detection settings. By accessing the app’s settings, you can define specific motion zones, adjust sensitivity levels, and fine-tune other parameters to ensure accurate motion detection tailored to your needs.
-
Exploring Feature Settings: The Ring app offers a range of feature settings to enhance your experience. These settings may include options for video quality, audio settings, notification preferences, and more. Take some time to explore and customize these settings to optimize your Ring device usage.
How do I subscribe to a Ring Protect Plan?
-
Log in to Your Ring Account: Start by logging in to your Ring account from a web browser. This will provide access to the necessary settings and subscription options.
-
Navigate to the Protect Plan Tab: Once logged in, navigate to the Protect Plan tab or a similar section where subscription options are available. This is where you can explore the different plans and choose the one that suits your needs.
-
Choose the Subscription Plan: Within the Protect Plan tab, you will typically find the Unsubscribed Devices or a similar option. Select this option to view the devices that are eligible for subscription. From there, choose the subscription plan that aligns with your requirements.
-
Complete the Subscription Process: Follow the on-screen instructions to complete the subscription process. This may involve providing payment details and confirming your subscription. Once completed, your Ring devices will have access to the enhanced features and benefits provided by the Ring Protect Plan.
How can I improve the wifi connection for my Ring devices?
-
Install a Mesh Network: If you have a larger home or areas with weak wifi coverage, consider installing a mesh network. Mesh networks utilize multiple units strategically placed throughout your home to provide better wifi coverage. This helps eliminate dead zones and ensures a strong and stable connection for your Ring devices.
-
Reduce Obstructions: Take a look around your home and identify any obstructions that may interfere with the wifi signal. Objects like furniture, appliances, or walls can block or weaken the signal. By rearranging or removing these obstructions, you can improve the wifi coverage and signal strength for your Ring devices.
-
Optimize Router Placement: The placement of your wifi router plays a crucial role in the strength and reach of the wifi signal. Position your router in a central location within your home, away from large metal objects or dense walls that can obstruct the signal. This helps ensure that the wifi signal reaches all areas where you have Ring devices installed.
-
Disconnect Unused Devices: Having multiple devices connected to your wifi network can put a strain on the bandwidth and affect the overall performance. Disconnect any devices that are not actively being used to free up bandwidth and optimize the wifi connection for your Ring devices.
What types of help resources are available for Ring devices?
-
Ring Help Website: The official Ring support website serves as a hub for all your support needs. It offers a comprehensive range of help articles, FAQs, and troubleshooting guides. Whether you need assistance with device setup, installation, customization, or troubleshooting, the Ring Help website provides valuable resources to guide you through the process.
-
Contacting Customer Support: If you encounter any specific issues or require personalized assistance, you can reach out to Ring’s customer support team. They are available to address your concerns, provide guidance, and offer solutions to ensure that your Ring devices are functioning optimally.
-
Partnerships and Programs: Ring has also established partnerships with organizations like NNEDV, which focus on important causes such as domestic violence prevention and community safety. Through these partnerships, Ring offers device donation programs and additional resources to eligible organizations, further extending support and assistance to those in need.


