Air conditioning ceiling vents play a crucial role in distributing cool air throughout homes and businesses. However, over time, they can become outdated, dirty, or damaged, negatively impacting the aesthetic appeal and functionality of your space. In this comprehensive guide, we provide detailed, step-by-step instructions on how to remove A/C ceiling vents, ensuring a smooth and efficient process for both DIY enthusiasts and professionals alike.
What Are A/C Ceiling Vents?
A/C ceiling vents are fixtures located in the ceilings of residential and commercial buildings, designed to distribute conditioned air from the air conditioning unit. Typically made from metal or plastic, these vents feature adjustable slats that control the flow and direction of air into the room. They are integral to the HVAC system, ensuring consistent and even cooling across the space.
How Do A/C Ceiling Vents Work?
Types of A/C Ceiling Vents
There are two primary types of A/C ceiling vents: those with dampers and those without.
- Damper Vents: Equipped with a lever or dial, these vents allow users to adjust the airflow by opening or closing the vent.
- Non-Damper Vents: These vents do not have an adjustable mechanism and constantly allow air to pass through.
Functionality
When the air conditioning system is activated, it cools the air and circulates it through the ductwork. The cool air then travels to the ceiling vents, where it is released into the room. Damper vents offer the advantage of controlling the volume of air that enters the room, allowing for a more customized cooling experience. Non-damper vents, on the other hand, continuously release air at the rate produced by the unit.
Pros and Cons of A/C Ceiling Vents
Pros
- Even Air Distribution: A/C ceiling vents promote uniform cooling throughout the room.
- Targeted Cooling: Adjustable vents allow for directing cool air to specific areas.
- Aesthetic Integration: Ceiling vents can blend seamlessly with ceiling designs, maintaining the room’s aesthetic.
Cons
- Noise: Some vents can produce noise, which may be distracting.
- Drafts: Improperly adjusted vents can create drafts.
- Maintenance: Ceiling vents require regular cleaning and maintenance to prevent dust accumulation and ensure optimal performance.

How to Remove A/C Ceiling Vents
Tools and Materials Needed
- Screwdriver (Phillips or flat-head, depending on vent screws)
- Step ladder
- Safety goggles
- Dust mask
- Plastic sheet or drop cloth
- Vacuum cleaner with a hose attachment
Step-by-Step Removal Process
- Preparation:
- Ensure the HVAC system is turned off to prevent air circulation during the process.
- Lay a plastic sheet or drop cloth beneath the vent to catch any falling debris.
- Safety First:
- Wear safety goggles and a dust mask to protect yourself from dust and debris.
- Locate the Screws:
- Most A/C ceiling vents are secured by screws located around the perimeter. Use a step ladder to reach the vent and identify the screw locations.
- Remove the Screws:
- Using the appropriate screwdriver, carefully remove each screw. Place the screws in a safe location for reinstallation.
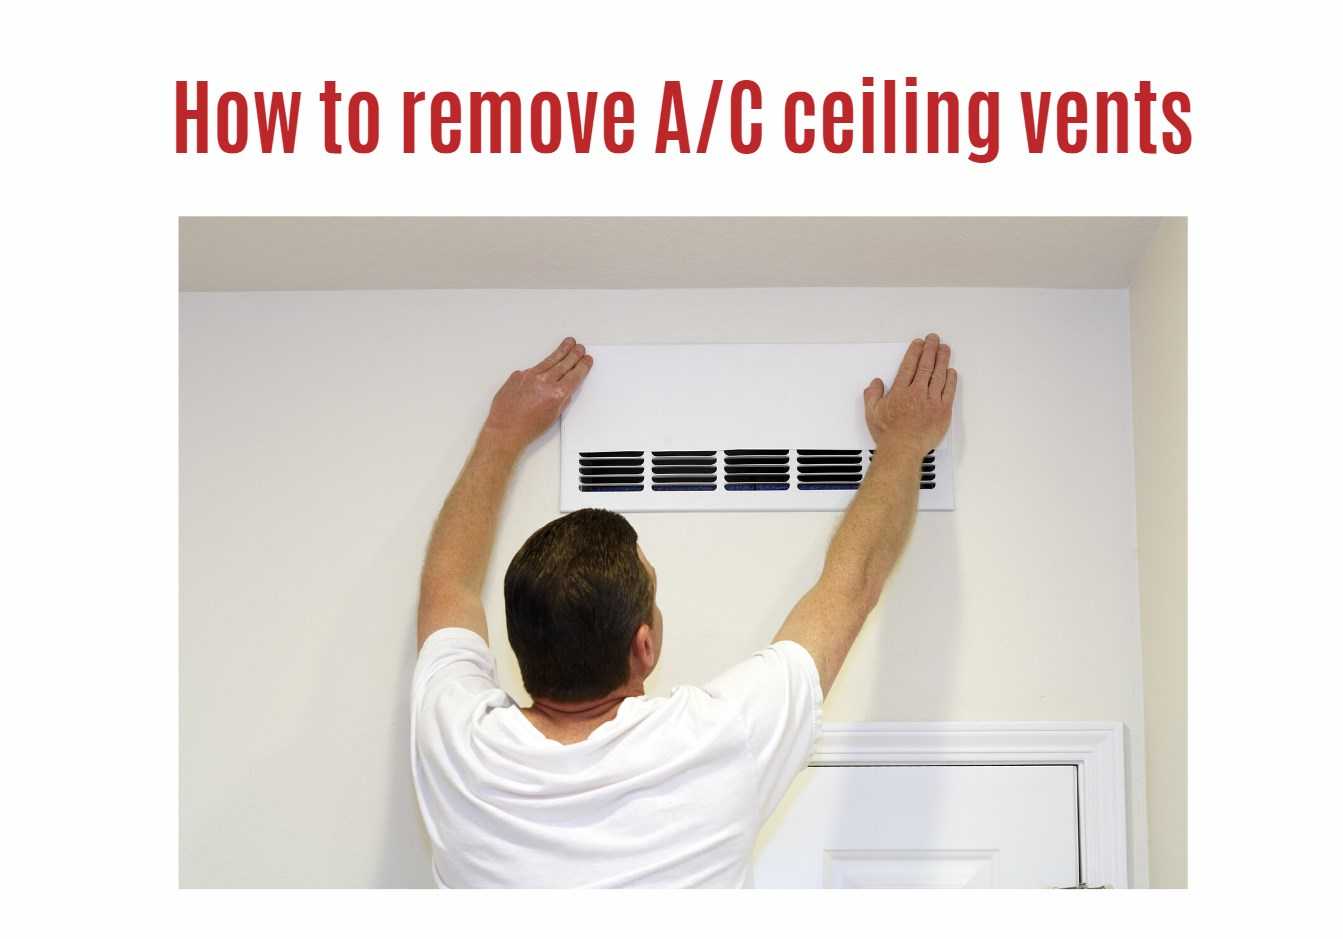
- Detach the Vent:
- Once all screws are removed, gently pull the vent away from the ceiling. If the vent is stuck, lightly wiggle it to loosen it from the ductwork.
- Clean the Duct Opening:
- Use a vacuum cleaner with a hose attachment to clean any dust or debris from the duct opening.
- Inspect the Vent:
- Examine the vent for any damage or significant wear. If necessary, consider replacing it with a new vent.
How to Install A/C Ceiling Vents
Step-by-Step Installation Process
- Prepare the New Vent:
- Ensure the new vent matches the dimensions of the old vent and is compatible with your ductwork.
- Align the Vent:
- Position the new vent over the duct opening in the ceiling.
- Secure the Vent:
- Using the screws removed earlier, attach the new vent to the ceiling. Ensure it is firmly secured and flush with the ceiling surface.
- Adjust the Vent:
- If installing a damper vent, adjust the slats or lever to the desired position to control airflow.
- Test the System:
- Turn on the HVAC system to ensure the new vent is functioning correctly and distributing air as intended.
Conclusion
Removing and installing A/C ceiling vents can significantly enhance the aesthetic and functional aspects of your space. By following the detailed steps outlined in this guide, you can efficiently replace outdated or damaged vents, ensuring your HVAC system operates smoothly and effectively. Remember to prioritize safety, use the appropriate tools, and take your time to achieve the best results.

